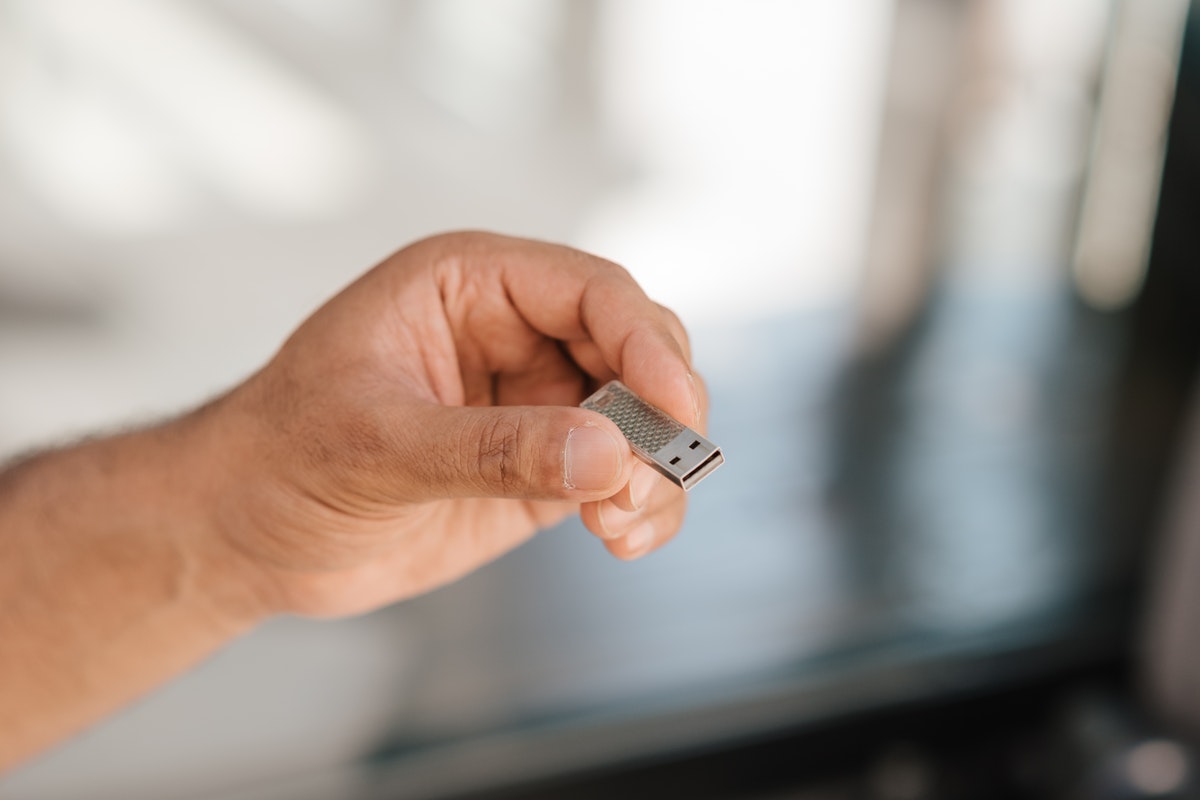
Formatting a flash drive is one of the basic operations that every PC user, sooner or later, will need to complete. In fact, doing this can fix a lot of problems with the external drive, such as:
- To make sure the removable device doesn’t carry any malware
- To delete your data before getting rid of the device (for the sake of security)
- To solve the problem if the flash drive has a file system that your PC doesn’t support. E.g., format the flash drive to FAT.

There are other reasons as well. For example, formatting a USB drive is easy, and this short guide will tell you how to format a USB drive quickly and painlessly.
What Is Formatting, First of All?
So, formatting is done whenever you need to prepare your external storage device to store information. This can be done to any removable memory device or hard drive so that you can maximize the space or get some additional memory.
Generally, there are two ways to format your USB drive:
- Fast formatting.
This is done to free more space in a flash drive’s memory before transferring their files. When you format or reformat a USB, it will only delete the file system table and the so-called root folder, but the data will still be available for recovery in this case.
To recover data from formatted pen drive, you can use either free or paid data recovery instruments such as Disk Drill or use backups.
- Full formatting.
This will allow you to scan bad partitions and remove all the data for good. Unfortunately, the entire formatting process usually takes longer, and this time depends on the capacity of memory sticks.
What File System Variations Are Common and What’s the Format for Your Ideal Use?
Before actually starting formatting the USB drive, you should define what file system type you need. Here are the most popular options.
- FAT32
Runs both on Mac OS and Windows, is well compatible with both older and new computers, but limits file and partition volume to 4 GB and 16 TB accordingly.
- exFAT
No size limits are indeed a plus of this file system, but it often requires updates for proper reading and writing. For now, exFAT is considered an almost perfect system. Here is some more info on exFAT.
- NTFS
Used as the standard format type for Windows’ hard drives, NTFS boasts an extended file size, but only Mac OS X can read it without additional utilities.
Steps to Take to Format a USB Flash Drive on Windows

So, once you realize why exactly you need formatting, it’s time to look at how to format thumb drives step by step.
- Insert a memory stick into a corresponding port.
- Start ‘File Explorer’ and pick ‘This Computer’.
- Go to the ‘Devices and Drives’ section.
- Find the flash drive on the list. Right-click it and choose ‘Format’ on the menu.
- Use the ‘File System’ menu to choose the preferable type.
- In the ‘Allocation unit size’ menu, pick ‘Default.’
- Confirm the flash drive name in the ‘Volume label,’ for example, Transcend USB.
- From the ‘Format Options,’ choose the one you need.
- Press ‘Start’ and confirm the operation.
- Wait till formatting is done.
Going through this process will let you format USB drive on Windows 10 or older and later use this memory stick to store new documents, photos, or archives.
Conclusion
Formatting memory sticks is as easy as ABC if you know what steps to take and are not afraid to practice. Still, keep in mind that formatting doesn’t always mean deleting files for all, and there is software that can retrieve the removed files back.