Recording technology has come a long way in the past few decades. We can now capture and store sound indefinitely, from cassette tapes to digital recordings. These technological advances mean we can capture and preserve audio recordings for years to come – but only if the recording itself is not damaged. If your audio recordings have been damaged, you can use several tips and tricks to restore them.
1. Assess the Damage to Your Audio Recordings
The first step in repairing damaged audio recordings is to assess the damage done. This means taking a close look at the recording itself and determining the damage’s extent. Types of damaged clipped audio recordings can range from physical problems like dirt, dust, or scratches on the recording medium to more digital issues like missing or corrupted data. Depending on the type of damage, you can restore the audio recording using one or more different methods.
To assess the damage to your recordings, try using a special cleaning kit to clean off any physical contaminants like dust or dirt. Once your audio recording is clean, you can look for more advanced digital problems that may need to be resolved before you can start repairing your recordings.
2. Determine Whether It Is Worth Repairing the Recording
Before repairing your damaged recordings, you should determine whether it is worth the time and effort. Some recordings may be too damaged or degraded to be repaired effectively; in these cases, there is no point in wasting hours or even days trying to fix them.
To make this determination, consider the quality of the original recording. If it was recorded at a high quality and has only suffered minor damage, you may be able to restore it effectively. However, if the audio quality of your recording is poor, or if it has suffered serious damage that cannot be easily repaired, you may consider simply storing a copy of the recording and discarding the damaged version.
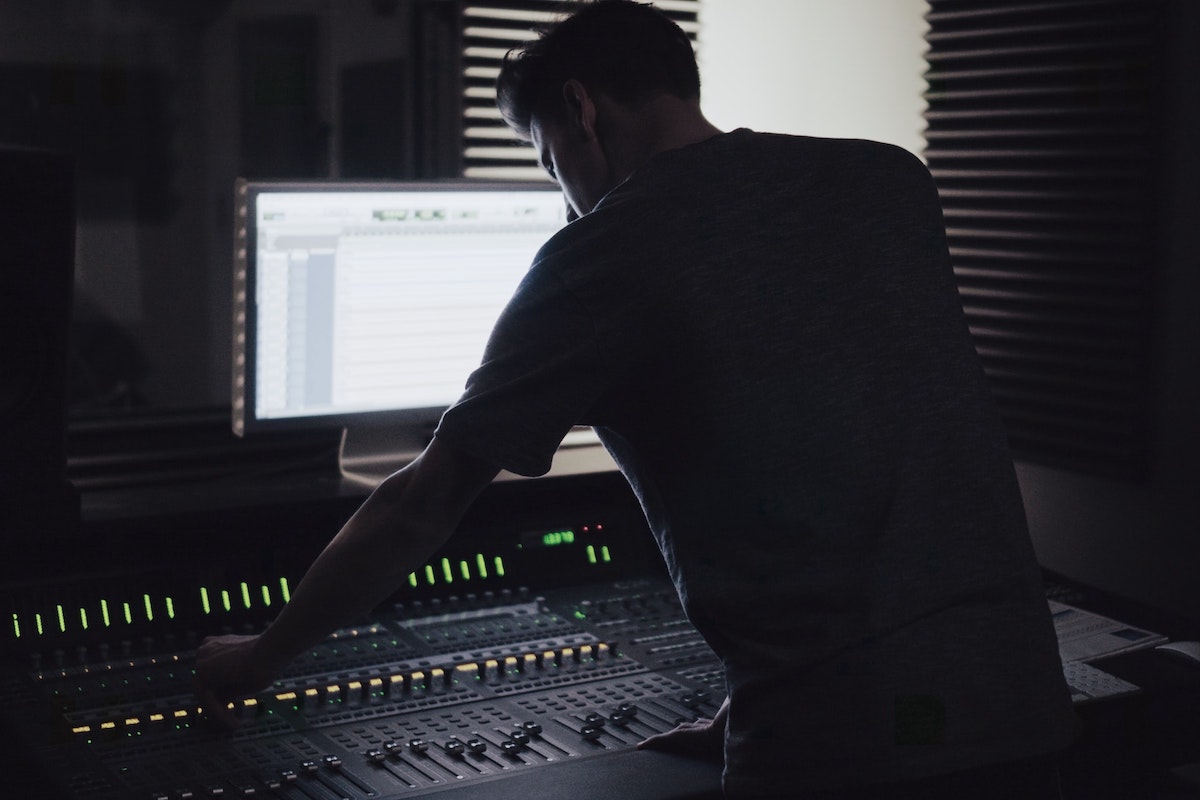
3. Use Advanced Software to Repair Your Recordings
If your recordings are not too badly damaged, you can use specialized software to repair them. For example, many audio restoration tools can help remove pops, clicks, and other unwanted digital artifacts from your recordings.
To use these tools, start by importing your damaged audio recording into the software. Then, use features like noise reduction, equalization, and compression to eliminate unwanted sounds or improve the overall sound quality of your recordings. Once you have made any necessary repairs, save your recording as a new file so you can continue using it.
4. Use Audio-Restoration Software to Repair Your Recordings
If your recordings are beyond repair or you want to recover as much of the original audio quality as possible, you may want to use specialized audio-restoration software. These tools allow you to remove static and noise from your recordings, improving their overall sound quality.
To use audio-restoration software, start importing your audio recordings into the software. Then, use features like noise reduction and audio amplification to improve their sound quality. Be sure to save your recording as a new file once you are done so that you can continue to use it for future projects.
5. Use Alternative Recording Methods If Necessary
In some cases, repairing your damaged audio recordings may only be possible with software. In these situations, consider using alternative recording methods. For example, if your recording medium is physically damaged or worn out, try transferring the audio contents of your recording to a CD or digital file; alternatively, if your recordings have been corrupted or missing data, you may want to consider using audio restoration software to recover the information that is missing. This can help restore your damaged recordings to be usable again.
6. Archive Your Repaired Recordings
Once you have successfully repaired your damaged audio recordings, it is important to archive them to protect them in the long term. This can be done by saving the recordings in a digital format that is highly stable and unlikely to experience physical or digital damage. Some common media formats that are often used for audio archiving include CD-R, DVD-R, and various types of flash drives.
If you want to ensure that your repaired recordings are protected and preserved for years, investing in a high-quality digital audio player is vital. This will allow you to repeatedly listen to your recordings without worrying about them being damaged or corrupted. With the right tools and techniques, it is possible to save even severely damaged audio recordings – so don’t give up hope.
If you are facing damage to your audio recordings and need help restoring them, there are several tech tips that you can use to get the job done. From assessing the damage to your recordings to using advanced software tools like noise reduction and equalization, there are many ways that you can save even the most damaged audio recordings. So if you want to preserve your recordings for years to come, use these tips and tricks to help you repair even the most damaged audio recordings.