In today’s digital age, the way we preserve and revisit our cherished memories is evolving rapidly. Gone are the days when bulky VHS tapes were the only way to relive treasured moments. However, many of us still have a trove of these aging tapes sitting on shelves, at risk of being lost forever. For residents and businesses in VIC – Melbourne, particularly South Yarra (3141), ensuring these memories are preserved through tape to digital conversion is a step toward protecting history while embracing modern convenience.

Why Convert Tapes to Digital in South Yarra?
Tapes are not built to last forever. Over time, exposure to environmental factors like heat, humidity, and dust causes them to degrade, resulting in diminished video quality and even complete loss of content. If you’ve noticed your VHS tapes exhibiting static, discoloration, or skipping, it’s a clear sign that they’re deteriorating.
Opting for tape to digital conversion in South Yarra is the perfect solution to protect your irreplaceable memories. South Yarra offers access to premium media conversion services that provide local convenience while ensuring the highest quality results.
Digitizing tapes also allows for easier sharing and integration into both personal and professional projects. Whether it’s family videos, business presentations, or archived footage, converting these tapes into modern digital formats ensures they’re preserved and accessible for years to come.
The Benefits of Media Conversion Services in South Yarra
1. Protection Against Deterioration
Time is the enemy of magnetic tapes. VHS and other analog formats degrade over time, even if stored carefully. By digitizing them, you stop the clock and ensure that your memories remain intact for future generations.
2. Simplified Accessibility
With digital files, you no longer need outdated VCRs or camcorders to watch your content. Your videos can be easily accessed on laptops, smartphones, or even streamed to TVs, making them convenient for sharing with family or colleagues.
3. Improved Versatility
Using professional media conversion services in South Yarra, you can choose formats compatible with modern devices, cloud storage, or even video editing software. This versatility is invaluable for personal and business use alike.
4. Enhanced Quality and Restoration
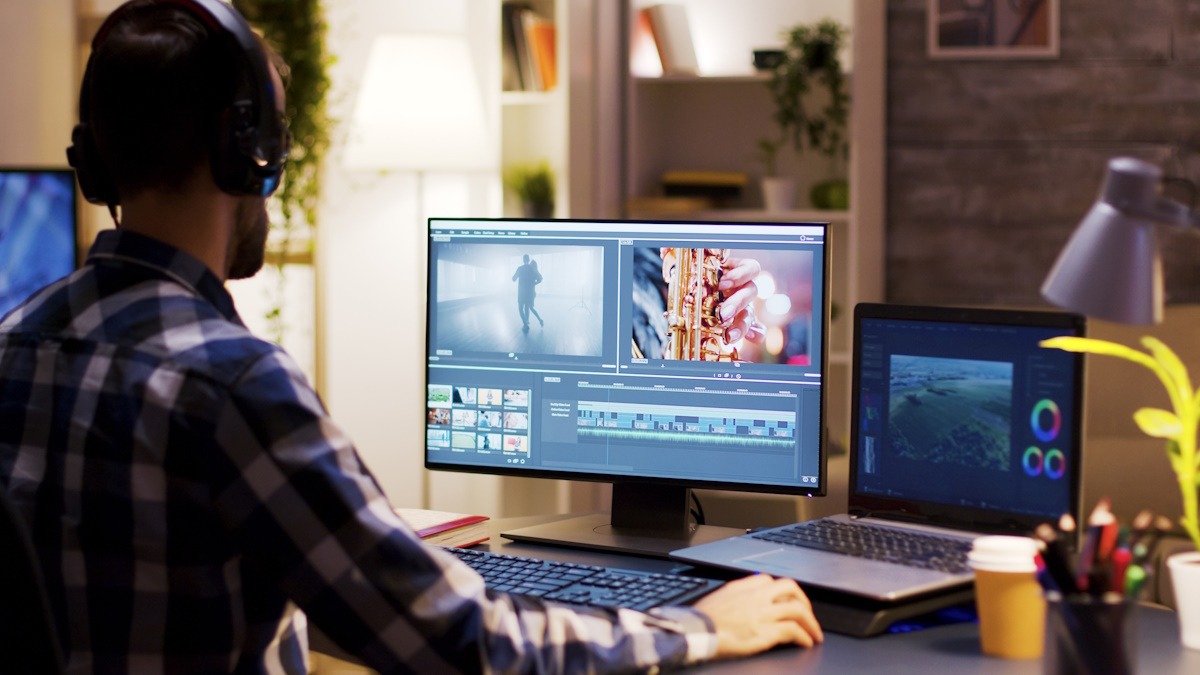
In many cases, professional services can enhance the quality of the video during the conversion process. Whether it’s removing static or improving colors, the results are often far superior to what’s possible with DIY methods.
Why Professional VHS Transfer Services in South Yarra, VIC, Are the Best Choice
While there are DIY kits available for tape conversion, they often result in lower-quality output and require significant time and technical knowledge. Choosing professional VHS transfer services in South Yarra, VIC, offers the following advantages:
- Advanced Technology: Specialists use state-of-the-art equipment to ensure your tapes are converted with precision and quality.
- Customizable Options: You can opt for additional services like color correction, noise reduction, or format-specific adjustments.
- Peace of Mind: Your valuable tapes are handled with care by experienced technicians, ensuring no damage occurs during the process.
Local services in South Yarra are particularly convenient, offering drop-off points and quick turnaround times. This means you can rely on a seamless experience from start to finish.
Why South Yarra Residents and Businesses Need Tape Conversion Services
South Yarra is not just a cultural and commercial hub of Melbourne; it’s also a community where history and modernity intersect. Businesses may have corporate archives on tape, while residents often have family memories that deserve preservation. For both groups, converting tapes into digital formats is a practical solution.
For businesses, converting corporate videos, presentations, or training materials stored on VHS allows for easier access and integration into modern workflows. Meanwhile, families can relive weddings, graduations, and other special moments in vibrant digital clarity.

Finding Affordable Tape Digitizing Services in Melbourne, South Yarra
When searching for affordable tape digitizing services in Melbourne, South Yarra, it’s essential to choose a provider with a proven track record. Quality and affordability should go hand in hand, ensuring you get excellent results without breaking the bank.
The right service will also offer flexible options, such as tailored packages for large tape collections, quick turnaround times, and customer-friendly support to answer all your questions.
Why Act Now?
Every day that passes, your tapes are at risk of further degradation. While they might seem fine now, magnetic media deteriorates quickly under less-than-ideal conditions. Converting your tapes to digital not only preserves them but also allows you to organize, edit, and share them effortlessly.
Local services specializing in convert VHS to digital in South Yarra, Melbourne, make it easier than ever to take action. By digitizing your tapes now, you ensure they remain a part of your legacy.
How to Get Started
Ready to preserve your precious memories or business archives? Visit Tapes to Digital in South Yarra to learn more about our reliable, high-quality services.
Tapes to Digital, specializes in offering tape to digital conversion in South Yarra, ensuring your media is treated with care and precision. Whether you’re looking for VHS to digital conversion in Melbourne South Yarra or need help with bulk media conversion, they’re here to help.
Don’t wait—start your tape conversion journey today and preserve your memories for generations to come!