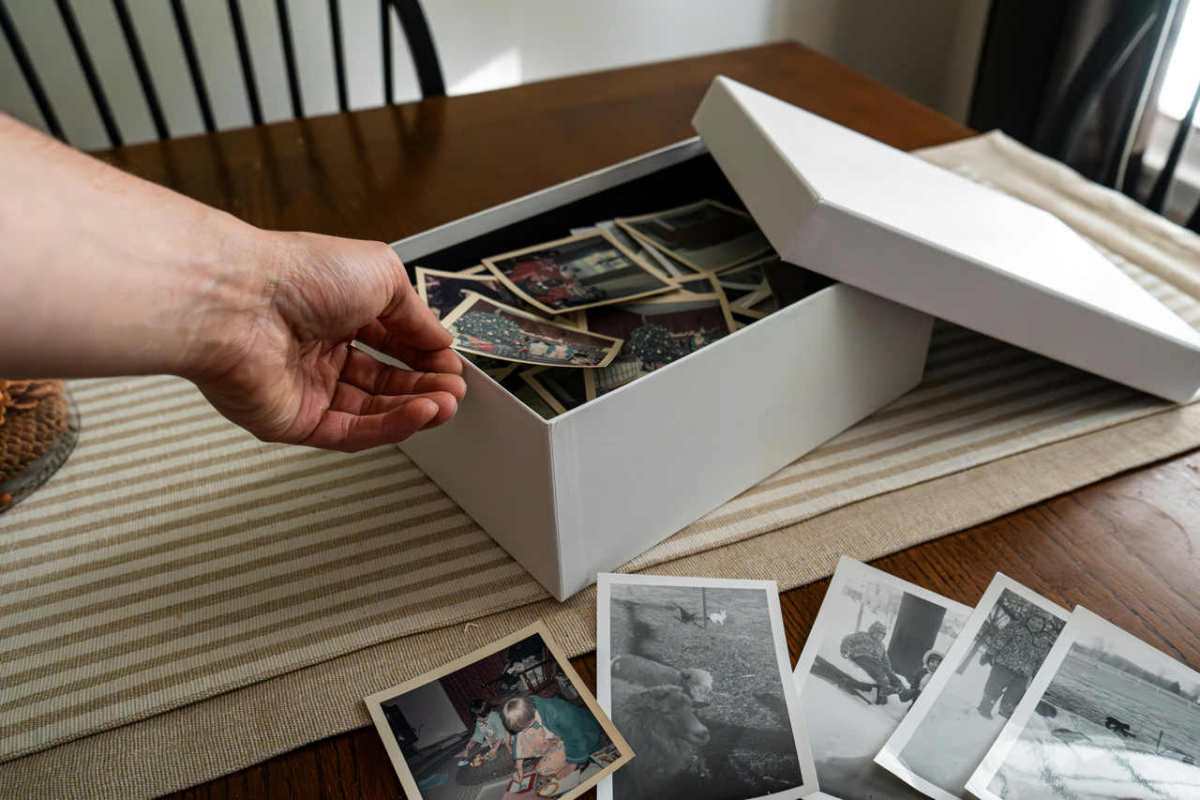
Everyone has that one dusty box. Inside, you find a mess of old family photos. Some have curled edges. Others have weird yellow stains. A few might even have cracks right across a relative’s face. These photos are your family history. They tell the story of where you came from. But physical prints are fragile. Fire, water, or just time can destroy them. That is why you need a digital workflow. You need to move these memories into the modern age. This guide will show you how to do it right and cover everything you need to know. You will learn to fix, scan, and save your pictures forever. Let’s get to work.
Fix the Quality First
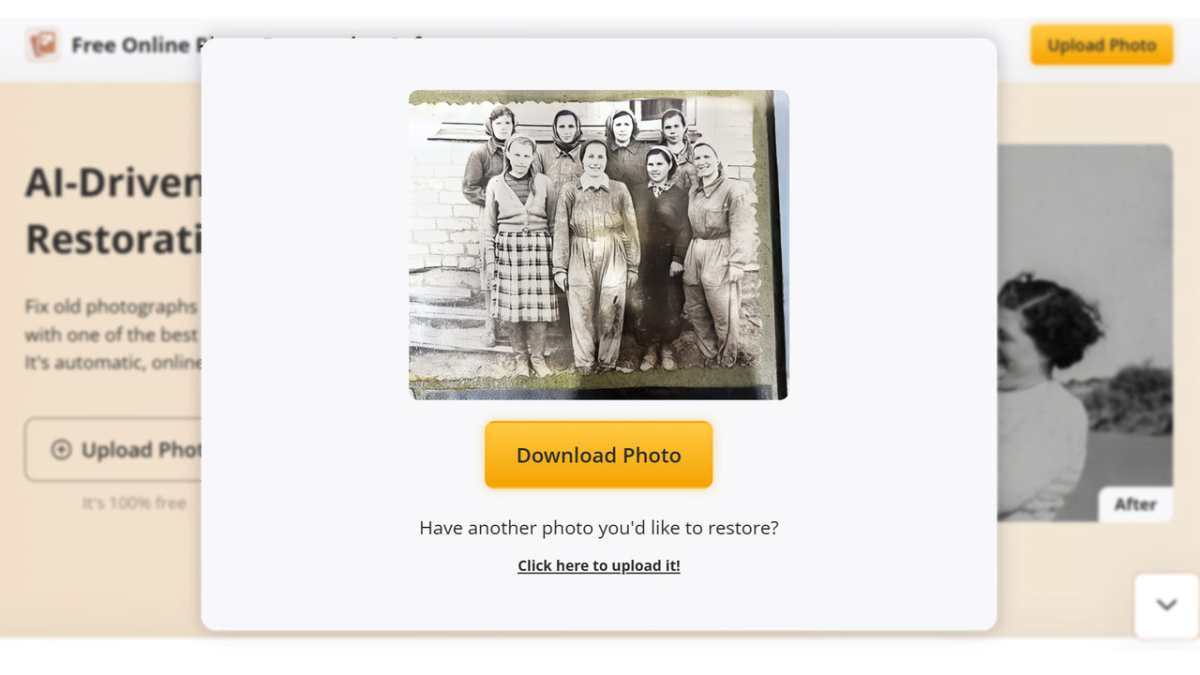
Do not just scan a damaged photo and call it a day. If a photo has a tear, the digital copy will have that tear too. You should fix these issues before you finalize your archive. Modern technology makes this very easy. You do not need to be a pro at Photoshop. You can use specialized AI tools, such as free photo restoration software. This tool is great for a few reasons. It removes scratches and dust marks automatically. It also improves clarity and can take a blurry face and make it sharp again.
There are other tools out there too. You might want to check out Magic Memory or the MyHeritage Photo Enhancer. Fotor AI Photo Restoration is another solid choice. Each one has its own strengths. Try a few and see which one handles your specific photos best.
Get a Good Scan
Now, let’s talk about the actual digitizing process. Many people just take a picture of an old photo with their smartphone. Please, do not do this. You get glare. You get distortion. The quality is never good enough for long-term storage.
You need a real scanner. A flatbed scanner is the best tool for this job. If you have hundreds of photos, look into a high-speed photo scanner. They feed the photos through like a paper shredder, but gently.
Here are some quick tips for a perfect scan:
- Clean the glass. Use a microfiber cloth. Even a tiny speck of dust looks like a huge rock on a high-res scan.
- Set the resolution. Use at least 600 DPI (dots per inch). This allows you to print the photo larger later if you want.
- Save as a TIFF file if you can. These files are huge, but they keep all the data. You can save a JPEG copy later for daily use.
- Do not use the “Auto-Fix” settings on the scanner software. It often makes colors look fake. Use a dedicated restoration tool later instead.
Basic Processing and Cleanup
Once the images are on your computer, you need to do some light work. Most old photos have big white borders. Or maybe the photo is crooked. Use a basic editor to crop the edges. Make sure the horizon is straight.
If the color looks a bit faded, you can boost the contrast. But do not go overboard. You want the photo to look like a memory, not a neon sign. If you used the restoration tool I mentioned earlier, most of this work is already done for you.
Organize Your Digital Library
This is the part where most people fail. They have a folder named “Old Photos” with 5,000 files in it. The files are named “IMG_001” and “IMG_002.” You will never find anything that way.
You need a system. Name your files clearly. A good format is: YYYY-MM-DD-Event-Description. For example: “1974-05-12-Wedding-Mom-Dad.jpg.”
This takes time. Yes, it is boring. But ten years from now, you will be happy. You can just type “Wedding” into your search bar and find the photo in seconds.
Prepare for the Cloud
Your computer’s hard drive will eventually die. It is a fact of life. You must put your photos in the cloud. Services like Google Photos, iCloud, or Dropbox are perfect for this.
But here is a tip: check the settings. Some services compress your photos to save space. You do not want that. You worked hard for those high-quality scans. Choose the “Original Quality” upload option.
Cloud storage also makes it easy to share. You can create a shared folder for your siblings or cousins. They can add their own photos too. This turns your private project into a family history hub.
Sync Across Devices
One of the best parts of a digital workflow is access. You should be able to see your 1950s family photos on your phone, your tablet, and your TV.
Once you upload to a cloud service, download the app on all your devices. Turn on “Sync.” Now, when you show your grandma a photo on your iPad, it is right there. No wires. No thumb drives. It just works.
The Backup System (The 3-2-1 Rule)
Never trust a single copy of a photo. Even the cloud can have issues. Professionals use the 3-2-1 rule.
- Have 3 copies of your data.
- Use 2 different types of media (like a hard drive and the cloud).
- Keep 1 copy off-site (at a friend’s house or in a different cloud provider).
Buy a cheap external portable drive. Once a month, copy your entire photo folder to it. Put that drive in a drawer at work or give it to a relative. If your house has a fire, your digital life is still safe.
Making it Searchable
Modern computers are smart. You can add “tags” or “metadata” to your photos. In Windows or Mac, you can right-click a photo and go to “Properties” or “Get Info.”
Add keywords like “Grandpa,” “Texas,” or “Classic Car.” Later, you can search for “Texas” and see every photo from that state across fifty years of history. Some AI tools even recognize faces now. They can automatically group all photos of your mother together. This is a huge time saver.
Why All This Effort Matters
You might think this sounds like a lot of work. It might take you several weekends to get through a big box of photos. But think about why you are doing it. Old photos are not just paper. They are stories. When you organize them properly, you make those stories accessible. You stop them from disappearing.